(ProcExp: Process Explorer)
{ Viewing Parent and Child Processes }
| 0. Background Information |
- http://technet.microsoft.com/en-us/sysinternals/bb896653
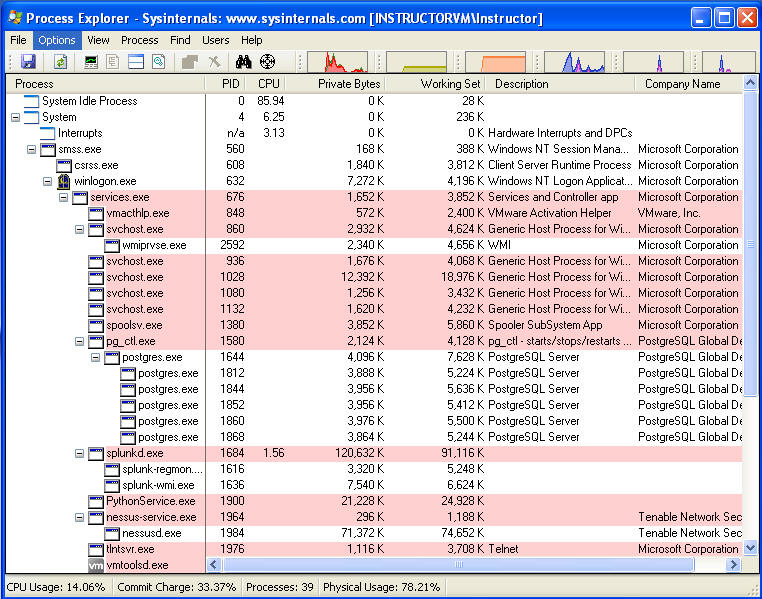
- The Process Explorer display consists of two sub-windows.
- The top window always shows a list of the currently active processes, including the names of their owning accounts, whereas the information displayed in the bottom window depends on the mode that Process Explorer is in: if it is in handle mode you'll see the handles that the process selected in the top window has opened; if Process Explorer is in DLL mode you'll see the DLLs and memory-mapped files that the process has loaded.
- Process Explorer also has a powerful search capability that will quickly show you which processes have particular handles opened or DLLs loaded.
- The unique capabilities of Process Explorer make it useful for tracking down DLL-version problems or handle leaks, and provide insight into the way Windows and applications work.
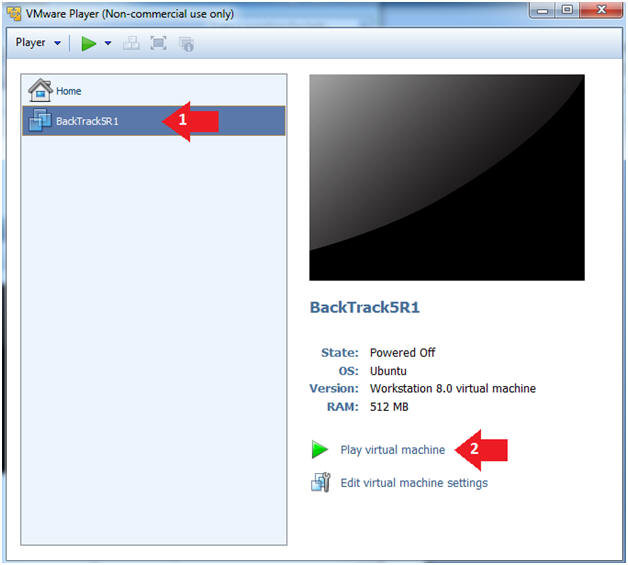
- Login to your Instructor VM, as username Administrator
- For those of you that are not part of this class, this is a Windows XP machines.
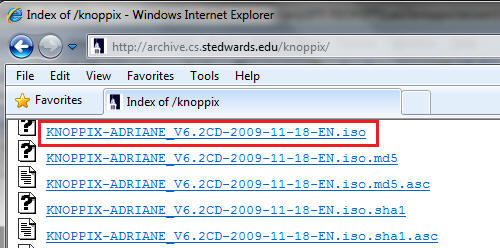
- From your Instructor VM, open your Windows Explorer Web Browser.
- Paste in the below link into your web browser.
- http://download.sysinternals.com/Files/ProcessExplorer.zip
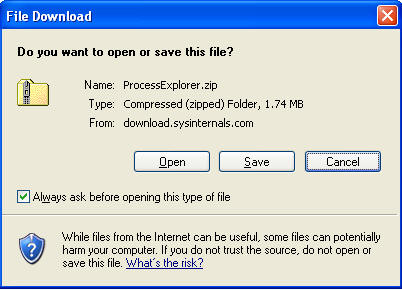
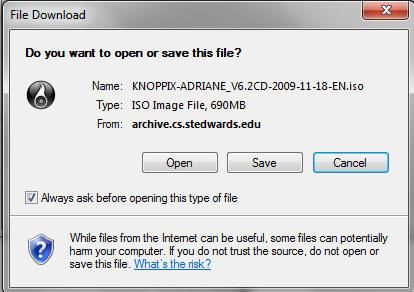
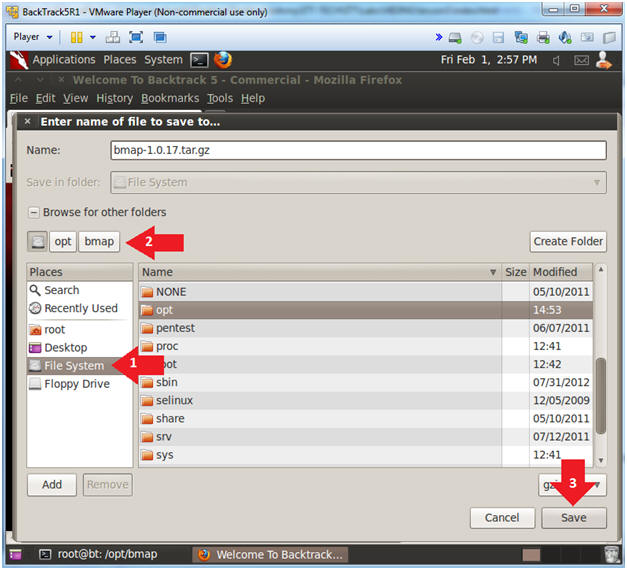
- Click Save
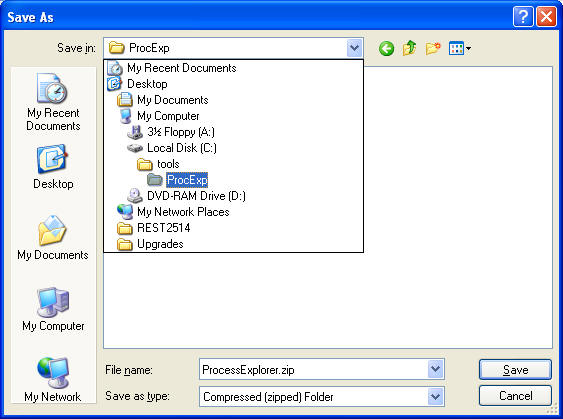
- Save to C:\tools\ProcExp
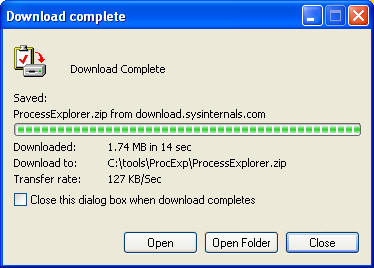
- Select Open Folder
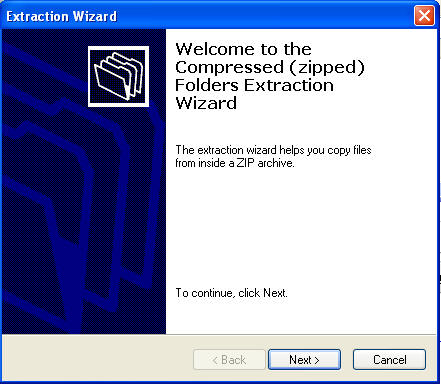
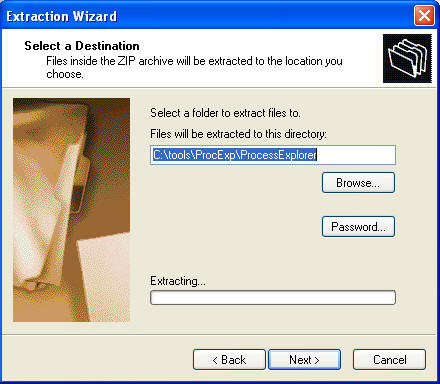
- Right Click on ProcessExplorer, Extract All
- Click Next
- Click Next
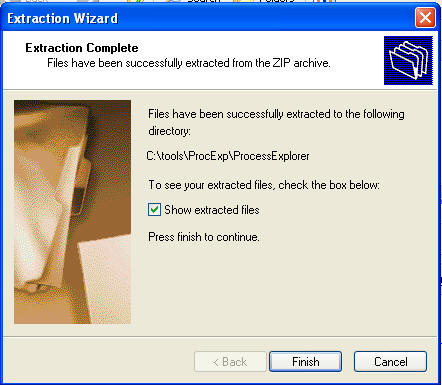
- Click Finished
| 2. Running ProcessExplorer |
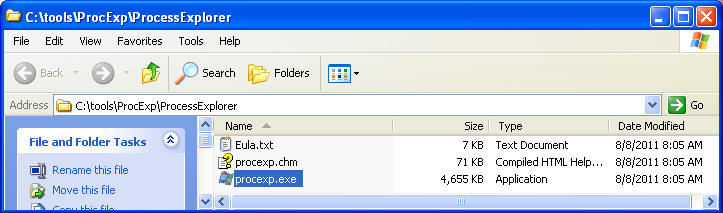
- Navigate to C:\tools\ProcExp\ProcessExplorer
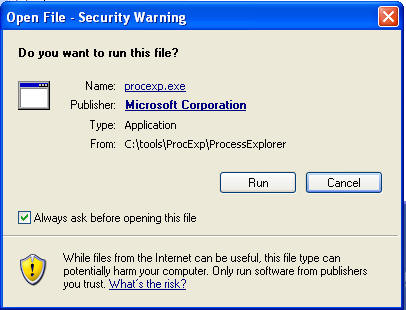
- Double Click on procexp.exe
- Click Run
- Click Agree
- Next you will see a screen that looks very similar to the below.
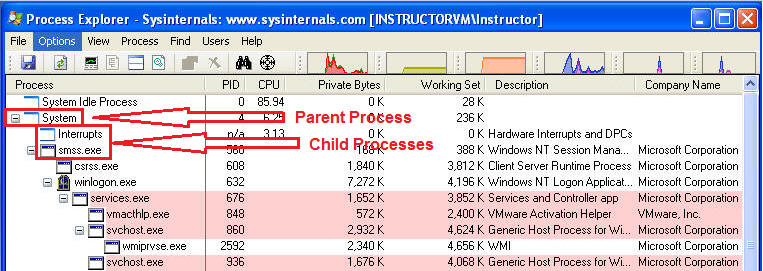
- Notice the Parent / Child Process Tree Structure
| 3. Viewing Process Properties |
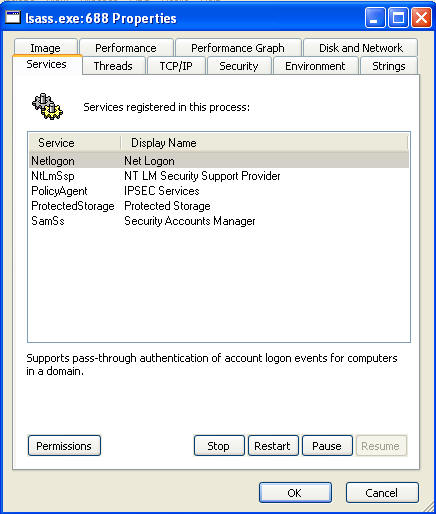
- Scroll Down to lsass.exe
- Right click on lsass.exe
- Click on Properties
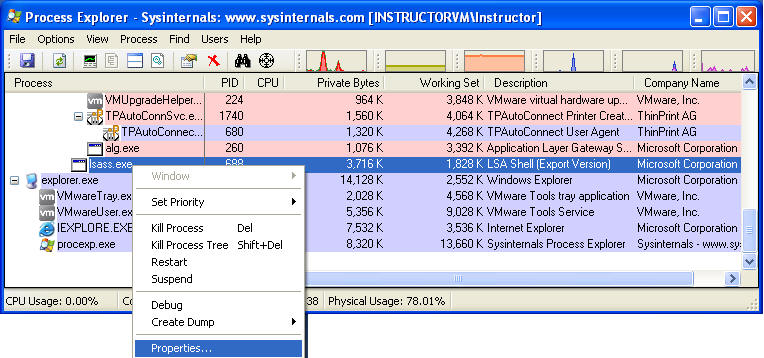
- As you can see lsass.exe is responsible for Net Login
- From the Services tab, you have the ability to:
- Stop, Restart and Pause the Process
- Also you can see who has Permission to Full Control, Read, and Write.
- Click on Permissions Button.
- For each user
- Make sure only the Administrator User have Full Control, Read, and Write Permission.
- All other user should only have Read Access, and perhaps special permissions.
- Goal: We are verifying that only the administrator users have Full Control.

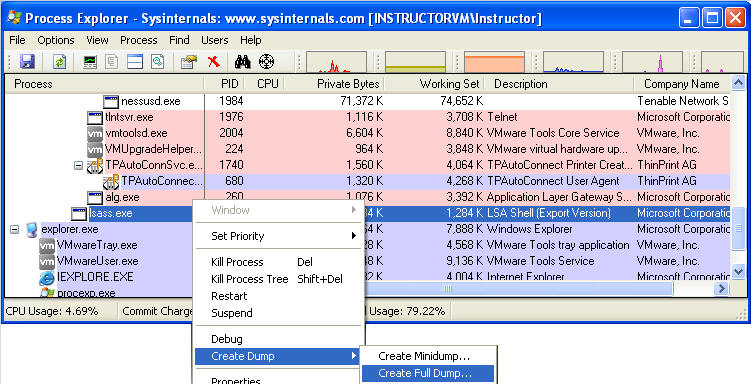
- Highlight lsass.exe
- Right Click on lsass.exe --> Create Dump --> Create Full Dump
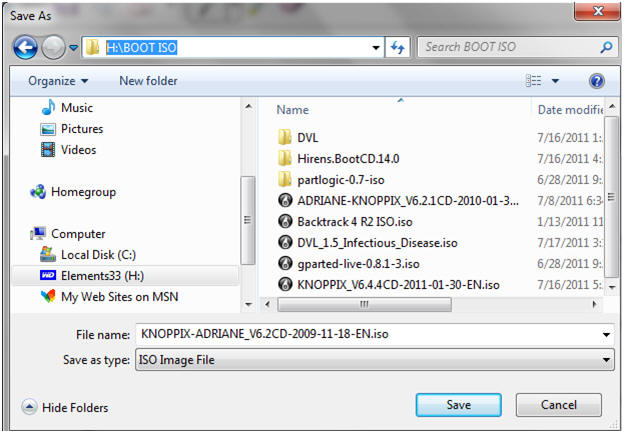
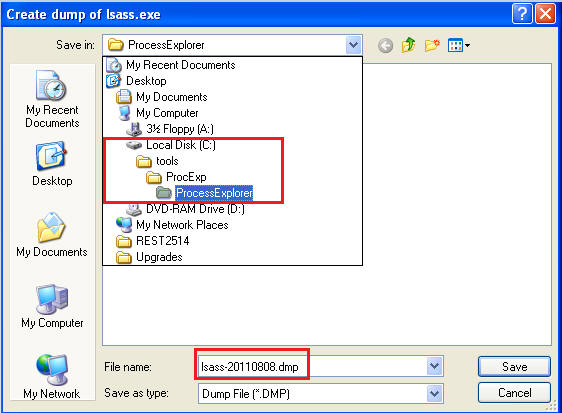
- Navigate to C:\tools\ProcExp\ProcessExplorer (See Below)
- Save File as lsass-YYYYMMDD.dmp, where YYYYMMDD is a date field.
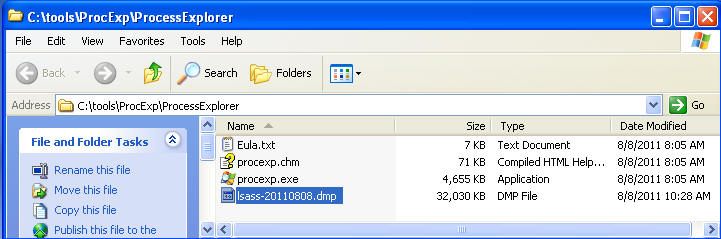
- Using Windows Explorer, Navigate to C:\tools\ProcExp\ProcessExplorer
- Proof of Lab: Highlight lsass-YYYYMMDD.dmp, Do a screen print, Paste into word doc, Upload to Moodle.
- Special Note (Not required for this lab), for dumping all memory processes.
- You would highlight System --> Create Dump --> Create Full Dump
- From a forensics point of view, you would want to capture everything.

- Cut and Paste a screen shot that looks similar to Step #3 in Section 5 into a word document and upload to Moodle.