Introduction
NS2 is an open-source simulation tool that runs on Linux. It is a discreet event simulator targeted at networking research and provides substantial support for simulation of routing, multicast protocols and IP protocols, such as UDP, TCP, RTP and SRM over wired and wireless (local and satellite) networks.
Pre-requisites
To view your network simulation traces made using ns-2, you’ll need Nam: Network Animator.
Nam is a Tcl/TK based animation tool for viewing network simulation traces and real world packet traces. It supports topology layout, packet level animation, and various data inspection tools.
Install it by running the following command in your terminal:
sudo apt-get install -y nam

Installation
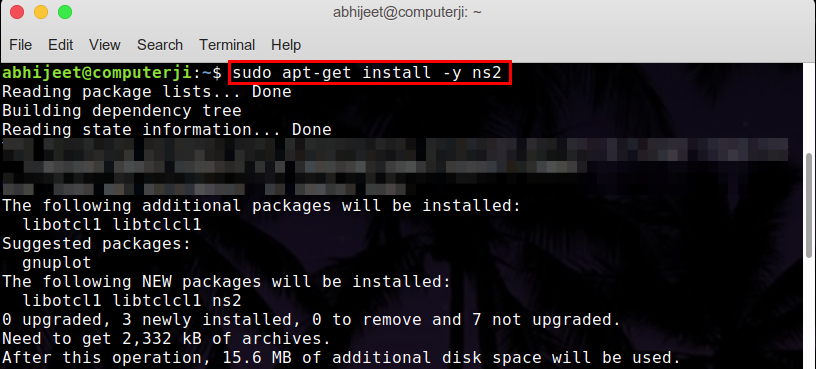
Run the following command in your terminal to install ns-2:
sudo apt-get install -y ns2
Check your installation
You can check your installation by running a simple Tcl script.
- Create a file:
- Paste the following code in the file:
 set a 20
 set b 30
 set c [expr $a+$b]
 puts $c
- Run in the terminal using ns-2:

Running a simple simulation
- Paste the following code in a file
simple.tcl: | #Create a simulator object |
| set ns [new Simulator] |
|
|
| #Define different colors for data flows (for NAM) |
| $ns color 1 Blue |
| $ns color 2 Red |
|
|
| #Open the NAM trace file |
| set nf [open out.nam w] |
| $ns namtrace-all $nf |
|
|
| #Define a 'finish' procedure |
| proc finish {} { |
| global ns nf |
| $ns flush-trace |
| #Close the NAM trace file |
| close $nf |
| #Execute NAM on the trace file |
| exec nam out.nam & |
| exit 0 |
| } |
|
|
| #Create four nodes |
| set n0 [$ns node] |
| set n1 [$ns node] |
| set n2 [$ns node] |
| set n3 [$ns node] |
|
|
| #Create links between the nodes |
| $ns duplex-link $n0 $n2 2Mb 10ms DropTail |
| $ns duplex-link $n1 $n2 2Mb 10ms DropTail |
| $ns duplex-link $n2 $n3 1.7Mb 20ms DropTail |
|
|
| #Set Queue Size of link (n2-n3) to 10 |
| $ns queue-limit $n2 $n3 10 |
|
|
| #Give node position (for NAM) |
| $ns duplex-link-op $n0 $n2 orient right-down |
| $ns duplex-link-op $n1 $n2 orient right-up |
| $ns duplex-link-op $n2 $n3 orient right |
|
|
| #Monitor the queue for link (n2-n3). (for NAM) |
| $ns duplex-link-op $n2 $n3 queuePos 0.5 |
|
|
| #Setup a TCP connection |
| set tcp [new Agent/TCP] |
| $tcp set class_ 2 |
| $ns attach-agent $n0 $tcp |
| set sink [new Agent/TCPSink] |
| $ns attach-agent $n3 $sink |
| $ns connect $tcp $sink |
| $tcp set fid_ 1 |
|
|
| #Setup a FTP over TCP connection |
| set ftp [new Application/FTP] |
| $ftp attach-agent $tcp |
| $ftp set type_ FTP |
|
|
| #Setup a UDP connection |
| set udp [new Agent/UDP] |
| $ns attach-agent $n1 $udp |
| set null [new Agent/Null] |
| $ns attach-agent $n3 $null |
| $ns connect $udp $null |
| $udp set fid_ 2 |
|
|
| #Setup a CBR over UDP connection |
| set cbr [new Application/Traffic/CBR] |
| $cbr attach-agent $udp |
| $cbr set type_ CBR |
| $cbr set packet_size_ 1000 |
| $cbr set rate_ 1mb |
| $cbr set random_ false |
|
|
| #Schedule events for the CBR and FTP agents |
| $ns at 0.1 "$cbr start" |
| $ns at 1.0 "$ftp start" |
| $ns at 4.0 "$ftp stop" |
| $ns at 4.5 "$cbr stop" |
|
|
| #Detach tcp and sink agents (not really necessary) |
| $ns at 4.5 "$ns detach-agent $n0 $tcp ; $ns detach-agent $n3 $sink" |
|
|
| #Call the finish procedure after 5 seconds of simulation time |
| $ns at 5.0 "finish" |
|
|
| #Print CBR packet size and interval |
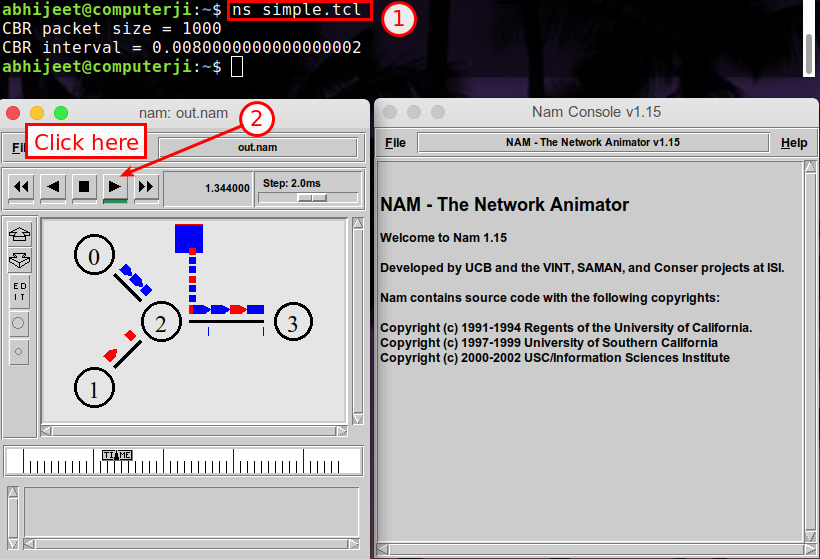
| puts "CBR packet size = [$cbr set packet_size_]" |
| puts "CBR interval = [$cbr set interval_]" |
|
|
| #Run the simulation |
| $ns run |
- Run the simulation from the terminal using ns-2:
- Click on the play button to start the simulation:
If you are a beginner to network simulation, you can find the explanation for the above script here.
The ns-allinone-2.31 package is available here if needed.


